
When a building intercom system fails on site, the fault is rarely in the firmware or the call logic. More often, it is in the physical layer: a marginal solder joint on a connector, a capacitor that drifted under thermal cycling, or a PCB with a copper weight too thin for the current draw of a long door strike run. We are Informic, and our daily work is turnkey PCBA coordination for industrial control boards. This article is the engineering checklist we use internally when we review a new building intercom project. It is written for the design or manufacturing engineer who needs a lower-risk path from schematic to field installation.
Let us be direct: the single most effective way to reduce risk in industrial control PCB assembly is to treat the PCB as a mechanical component, not only an electrical one. For building intercom systems, the board will live inside a metal enclosure, often near high-voltage relays, and it will experience temperature swings from -20°C to +60°C in a stairwell. If you do not design for that environment, no assembly process will save you. Here is the checklist we apply, in order.
1. DFM review: what we check before we order a single component
We start every project with a design for manufacturability (DFM) review. This is not a formality. We are looking for specific things that cause field failures in intercom systems. First, we check the minimum annular ring on vias that carry power to the audio amplifier or the door lock relay. If that ring is less than 0.15 mm, the via can crack during thermal cycling. Second, we verify the solder mask clearance around test points. If the mask overlaps the pad, the bed-of-nails fixture will not make reliable contact, and your test coverage drops.
Technical reference: For related engineering context, see IPC standards and industry resources.
Third, and this is a common miss, we check the thermal relief on ground planes connected to the main processor. A solid connection will wick heat away during reflow, causing a cold solder joint on a QFP package. We have seen this exact issue on a video intercom master station. The fix is a simple thermal spoke, but it must be in the original layout. We also review the board thickness versus the connector types. A 1.6 mm board with a heavy-duty screw terminal for a 24 VAC door strike needs adequate pad pull strength. If the terminal is mounted near the edge, we recommend a 2.0 mm board or a mounting hole.
2. BOM risk: the components that fail in the field
We have a simple rule: if a component is not in a sealed tape-and-reel from a franchised distributor, it is a risk. For building intercom systems, the highest failure rates we see are in electrolytic capacitors, relays, and optocouplers. We do not use generic replacements. For example, a relay that switches a door strike needs a minimum 10 A contact rating, but the coil voltage must be regulated. If your BOM specifies a 12 V relay and your power rail is 14 V, the coil will overheat and the relay will weld. We always check the relay datasheet for the operating voltage range and the coil resistance.
We also verify the temperature rating of every component. A standard commercial capacitor rated at 85°C will fail prematurely in a sun-exposed lobby enclosure. We specify 105°C or higher for any part near a heat source. Another practical step: we check the moisture sensitivity level (MSL) of every IC. A video codec chip with MSL 3 needs to be baked before assembly if the bag is opened for more than 168 hours. We track this in our ERP system, but you should also put the MSL level on your BOM. It is a simple field that prevents a latent failure six months after installation.
For a complete list of components we stock for intercom projects, see our components page. But the key point is this: we do not buy from brokers unless the part is obsolete and we have no alternative. In that case, we test every single piece before it goes on the line.
3. PCBA process control: solder paste, stencils, and reflow
Once the BOM is clean, we move to assembly. We use a lead-free SAC305 solder paste for all building intercom boards. The reflow profile is critical. We set a peak temperature of 245°C ± 5°C, with a time above liquidus of 60 to 90 seconds. This is not arbitrary; it is based on the solder paste datasheet and the thermal mass of the board. A thick 2.0 mm board with large ground planes will need a longer soak zone. We measure the profile with a thermal profiler on every single board, not only the first article. If the profile drifts, we stop the line.
For the stencil, we use a laser-cut stencil with a 0.125 mm thickness for most boards. If you have a fine-pitch QFP or a 0402 resistor, we reduce to 0.100 mm. The aperture area ratio must be above 0.66 for a good transfer. We check this in the DFM review, but we also verify it on the first article with a solder paste inspection (SPI) machine. The SPI data is stored for traceability. If a field failure occurs, we can review the paste volume for that specific component.
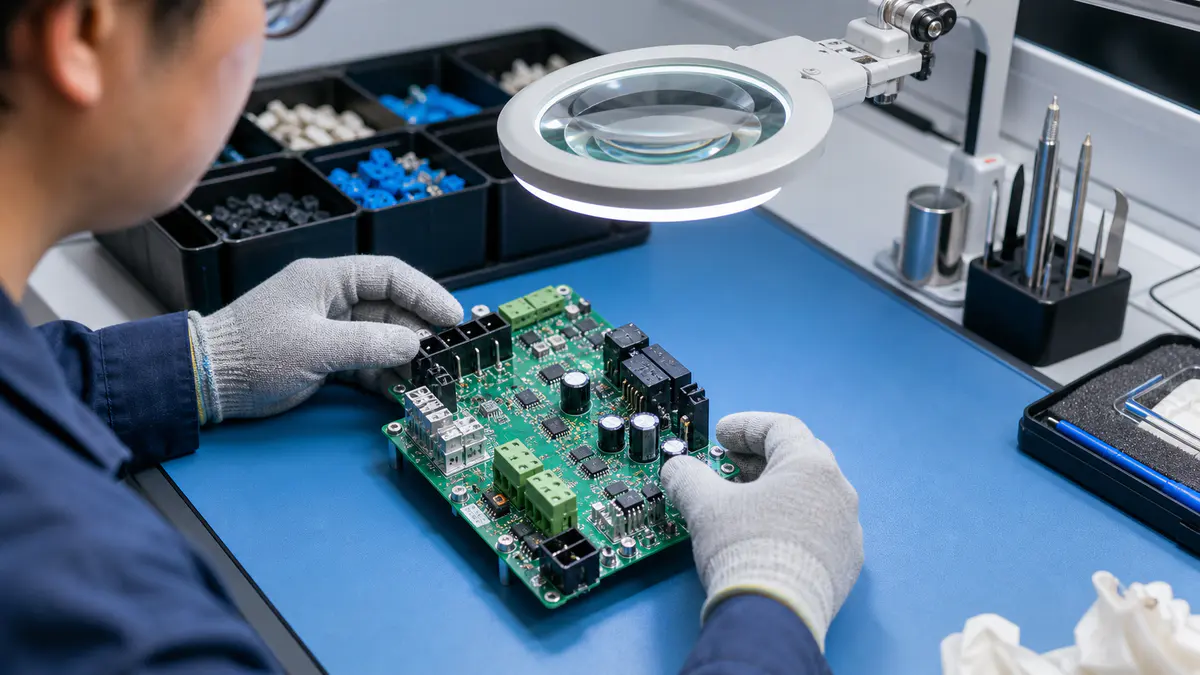
Through-hole components, like the relay and the terminal blocks, are soldered with a selective soldering process. We use a nitrogen blanket to reduce oxidation and improve wetting. The nozzle diameter is matched to the lead spacing. We do not hand-solder anything except a few low-risk jumper wires, and only if the design allows it. For a door intercom, we prefer a full selective solder to avoid cold joints on the relay pins.
4. Testing: what we do before the board ships
We use a three-stage test strategy for building intercom systems. First, an automated optical inspection (AOI) after reflow. This catches missing components, tombstoning, and solder bridges. Second, an in-circuit test (ICT) with a flying probe for boards with fewer than 500 nodes. We verify the power rails, the crystal oscillator, and the relay coil resistance. We do not test the audio path at this stage; that is done in the functional test.
Third, a functional test with a real intercom master station. We connect the board to a test fixture that simulates a door station, a door strike, and a remote monitor. We test the call button, the microphone, the speaker, and the relay activation. We also run a 24-hour soak test on a sample of boards from each batch. This is not a certification; it is a practical reliability check. We look for intermittent failures that only appear after thermal cycling. The sample size is 5% of the batch, with a minimum of 5 boards. If any board fails, we quarantine the entire batch and investigate.
For a detailed explanation of our test coverage, you can review our pcba service page. But the important thing is that we do not ship a board without a functional test. We have seen too many “good” boards that failed on site because the firmware was not loaded or the relay did not latch.
5. A practical table for your next RFQ
When you send us a request for quote (RFQ), we need more than just the Gerber files. Here is a table of the minimum information we require for a building intercom PCBA. This is not a bureaucratic requirement; each item directly affects the assembly process and the field reliability.
| RFQ Item | Why it matters for intercom systems | Our recommendation |
|---|---|---|
| Board thickness & copper weight | Thicker boards resist connector pull-out; heavier copper handles door strike current. | 1.6 mm / 2 oz for power sections, 1 oz for signal. |
| Operating temperature range | Determines component derating and solder joint fatigue. | Specify -20°C to +70°C minimum; we will check all parts. |
| Relay coil voltage & current | Mismatched coil voltage is a common field failure. | Provide the relay part number and the actual coil drive voltage. |
| Test requirements | ICT vs. functional test changes the fixture cost and coverage. | We recommend both; functional test is mandatory. |
| MSL level of all ICs | Affects baking before assembly; prevents latent moisture damage. | List MSL on the BOM; we will verify. |
You can download a template from our quote page. But the table above is a good starting point for your internal review.
6. The final step: documentation and traceability
After assembly and test, we provide a full documentation package. This includes the assembly drawings, the test reports, and the X-ray inspection images for any BGA or QFN packages. We also provide a certificate of conformance for the solder paste and the batch number. For building intercom systems, we recommend that you keep these records for at least 10 years, because a building has a 20-year life cycle. If a board fails in year five, you need to know exactly what was in that batch.
We also keep a sample board from every production run in our archive. This is not required by any standard, but it is a practical habit. If a customer calls with a field issue, we can physically inspect the sample board to see if the solder joint looks different from the returned unit. This has saved us weeks of debugging in the past.
FAQ: three questions we hear from engineers
Q: What is the most common DFM mistake in intercom PCBA?
A: In our experience, it is the lack of thermal relief on ground pins of the main processor and the audio amplifier. This causes cold solder joints during reflow. A close second is insufficient pad size for the door strike relay, leading to pad lift when the screw terminal is torqued.
Q: Do you always use lead-free solder for industrial control boards?
A: Yes, we use SAC305 for all building intercom PCBA. It is RoHS compliant and has a good track record for thermal cycling. We do not offer leaded solder unless the customer provides a specific exemption for a military or medical application. For intercoms, lead-free is the standard.
Q: How do you handle a component that is obsolete?
A: We first search our inventory and authorized distributors. If the part is truly obsolete, we will recommend a form-fit-function replacement and test it on a sample board before full production. We never swap a component without your approval. The replacement must meet the same electrical, thermal, and mechanical specifications.
We hope this checklist helps you in your next PCB fabrication project. The goal is not to add complexity, but to remove the unknown variables that cause field failures. If you have a specific board that you want us to review, send us your files through the quote page. We will give you a straightforward answer.


FAQ
What do we review first for industrial control pcb assembly?
We begin with the functional requirement, the current revision-controlled data package, critical components, expected volume, quality requirements, and delivery deadline.
How do we reduce technical sourcing risk?
We treat availability, lifecycle status, approved alternates, traceability, and lead time as engineering inputs. We ask customers to qualify an alternate before a shortage stops production.
What do we need for an accurate quotation?
We need the correct document revision and, where relevant, the BOM, Gerber or ODB++ files, centroid data, target quantity, application, test expectation, quality requirement, and requested delivery date.
